Development
Getting started with Directus 7 and Docker (Nginx, PHP & MySQL)

—
EDIT March 28, 2020 : With the release of Directus 8, a lot of work has been done on the Dev experience and you can now use the official docker image with docker-compose to get started in seconds 💪
—
I recently wanted to try out the very promising Directus 7, a PHP based Headless CMS (Content Management System, headless meaning it creates an API to work with single page apps), without a doubt explained better on the documentation.
To get started, I went to visit the very-well written documentation, which tells that the best way to start is to git clonehttps://github.com/directus/directus.git and configure a local Apache Web Server and MySQL database to try it. 🤔
Not wanting to install it locally (because… well, who does that anymore? Local environments are the least reproducible things of all, everyone does not have the same OS, OS version, packages installed, etc.), I turned to my best development friend: Docker 🐳 , and decided to write this article to help dear developer friends in this inquiry.
Our goal :
- Setup a docker PHP container being able to run the latest Directus version
- Setup a docker container hosting a MySQL DB to use with Directus
- Making them work together and letting us try it
Requirements to achieve that goal :
- Docker : https://www.docker.com/get-started
- Git : https://git-scm.com/
TL;DR : Looking for the result of this article, get it and run the Start stuff instructions to try out Directus 7 in Docker 🙂
Setup a docker PHP container being able to run the latest Directus version
I have to say my favorite stack does not include Apache, I way prefer Nginx working with PHP-FPM, so that is what this example with showcase.
First, let’s create a folder for our experiment: mkdir directus-test/
Inside that folder ( cd directus-test/), let’s create a Dockerfile and start from an image that’s gonna help us out:
FROM wyveo/nginx-php-fpm:latest
Then, let’s install a very simple NGINX config allowing us to serve the directus code:
COPY default_nginx_conf /etc/nginx/conf.d/default.conf
The default_nginx_conf is the following:
server { listen 80; root /app/public/; index index.php index.html index.htm; server_name _; location / { try_files $uri $uri/ /index.php; } # pass the PHP scripts to FastCGI server location ~ \.php$ { try_files $uri =404; fastcgi_pass unix:/run/php/php7.3-fpm.sock; fastcgi_index index.php; fastcgi_param SCRIPT_FILENAME $document_root$fastcgi_script_name; include fastcgi_params; }}
Hence, a very simple NGINX configuration looking for an index.php in the /app/public folder of our container, and forwarding any request to a *.php file to PHP-FPM through a socket (/run/php/php7.3-fpm.sock ) which is already set up in the container.
We’re just missing the directus code!
Let’s get it from github, as it is advised in the documentation :
git clone https://github.com/directus/directus.git
Let’s build our container!
docker build -t directus_img .
Setup a docker container hosting a MySQL DB to use with Directus
You know what? I feel lazy and would prefer to spend my time trying the damn thing, so let’s just get an image from Docker hub!
For example, the default MySQL image looks nice!
Making them work together and letting us try it
Let’s run both containers and make sure they can interact with each other thanks to a Docker Network:
docker network create directus_test_network
Then let’s run our PHP container and give it access to the directus code :
docker run -dit --name directus_php --network directus_test_network -p 8000:80 -v "$(pwd)/directus/":/app/ --rm directus_img
In case you are not familiar with docker, the options allow us to:
directus_imgis the image we built just before, including all we need-ddetach the process from the command line, i.e. your bash is not “stuck” in the process-ikeeps the shell interactive even if detached, which means you can still interact with the container-tallocates a pseudo-TTY--namenames the container so we can find it easily with docker ps later, or to interact with it--networkspecifies that container should be available in the network created just before-pallows us to bind ports from the container (80: the default web port) to a port of the host (your machine), here the8000, making it possible for you to go tolocalhost:8000and see what the container serves on its port80-vmounting a volume (here:$(pwd)/directus/,$(pwd)being the current folder) as a folder in the container (/app/)--rmAutomatically removes the container when it exits
The fact that directus_img is at the very end of the command is NOT because it is linked to --rm , but simply because it is necessary to pass all the options to docker run before specifying which image to run.
Then, let’s run our MySQL container:
docker run -d --name directus_mysql --network directus_test_network -p 3306:3306 -e MYSQL_DATABASE=directus -e MYSQL_ROOT_PASSWORD=root -v data:"$(pwd)/data" --rm mysql:5.7
The only new thing here is the -e option, allowing you to pass an environment variable to the container.
You can see here that we also bind the port 3306 on the host… Why? This allows you to connect to your favorite SQL Manager tool to the DB on localhost:3306 and browse your data if need be.
We can see that our containers are running thanks to docker ps, which should give you something like the following:

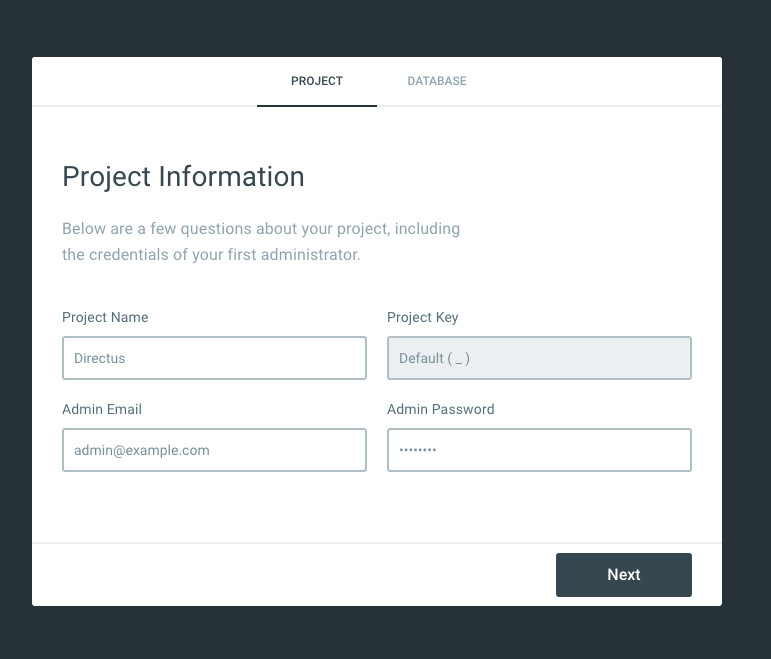
You can now setup directus

The first step is to choose your login and password:
Then to specify the database credentials and settings:

The only parameters to change here are
- the
host, which is going to bedirectus_mysql - the
userandpassword:rootandroot
Which is where we see the influence of having the two containers in the same network. Indeed, having them in the same network makes them “aware” of each other, giving access in the MySQL container to the PHP container on the “host name” directus_php and giving the PHP container access to the MySQL one on directus_mysql .
The docker network with default driver actually includes a DNS resolver so the nslookup done to resolve the IP from the hostnames (e.g, directus_mysql) finds the other container within the same subset based on the same container name.
Submit the login form with the credentials set and BOOM! You’re in!
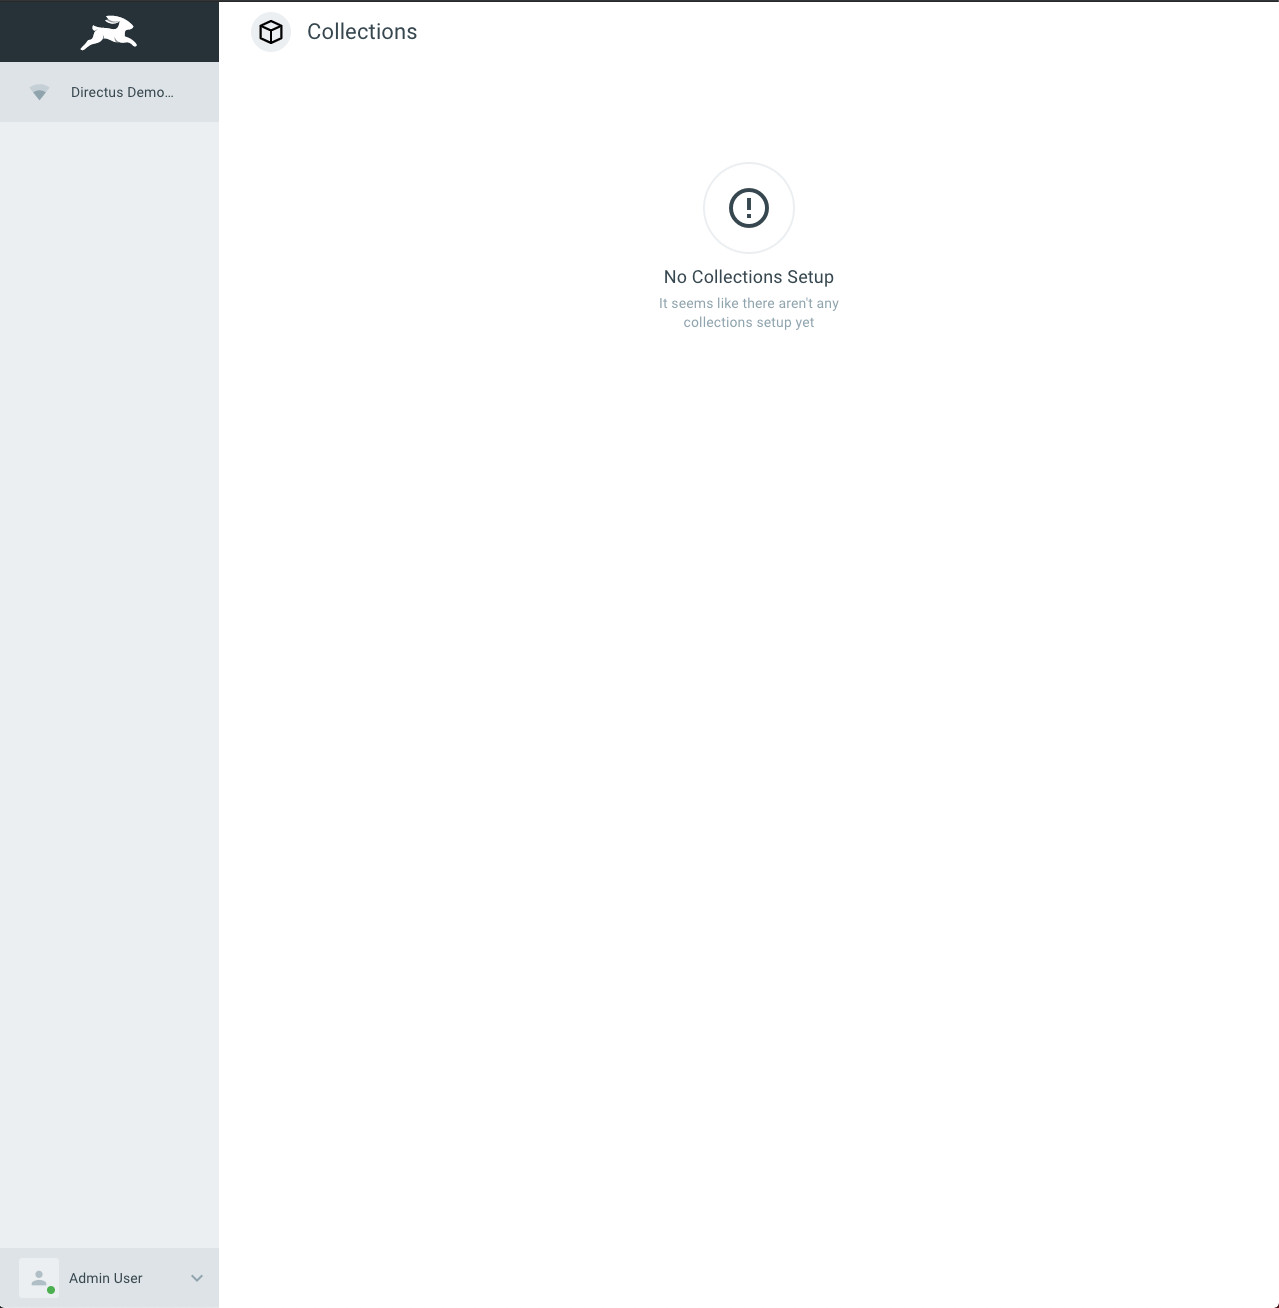
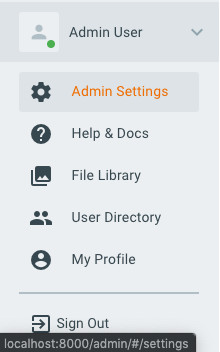
You can now access the Admin Settings at the bottom left of the screen and get started creating your collections, etc. 🚀
I have to say that after that, Directus gives a great feeling, everything is pretty smooth with a few hiccups, like some buttons not working, but you get it, it’s still a Work in Progress :)
You can find “all of this code” plus a few helpers here if you don’t want to waste your time trying all of that out. For more articles on various subjects take a look at our blog!
Did this article start to give you some ideas? We’d love to work with you! Get in touch and let’s discover what we can do together.


.jpg)

